Install Red Hat Enterprise Linux
Reboot your computer into the installer
-
- Once you have your USB disk ready, you can reboot your computer.
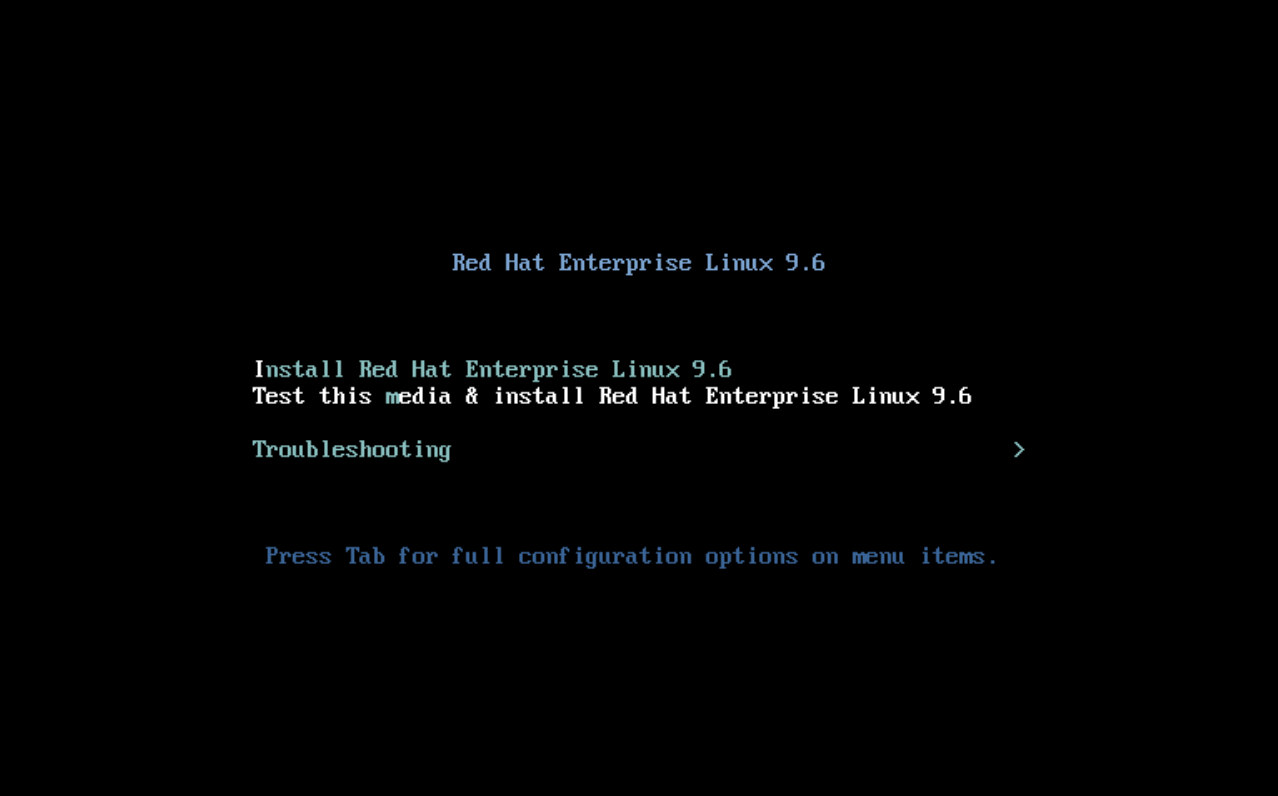
- You should see the boot screen.
- Be sure to select Test this media & install , which should be the default, the first time you use your new USB disk installer to make sure everything was written correctly before beginning the installation. Using the up and down arrow keys on your computer allows you to navigate the options, and press Enter when you are ready.
-
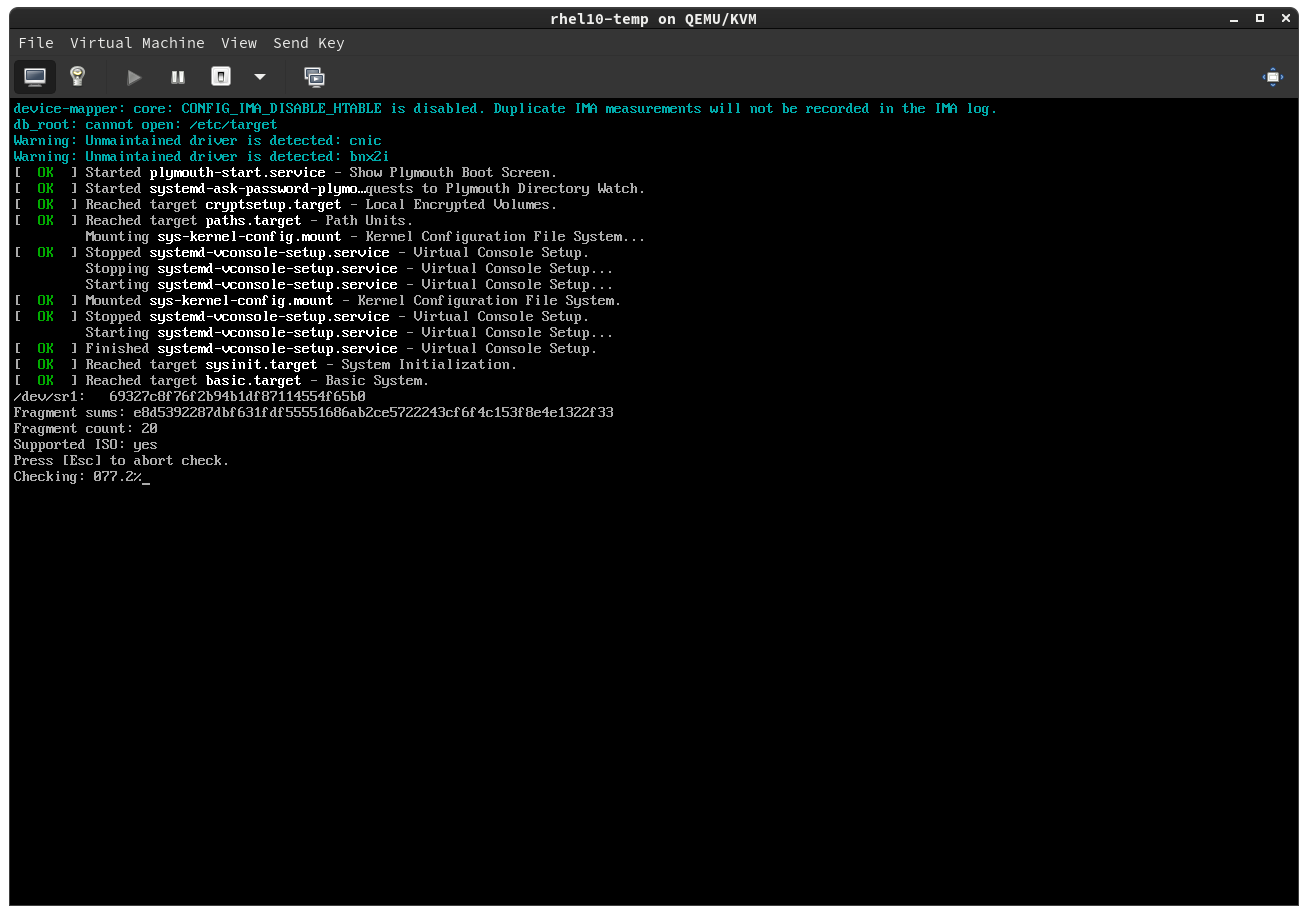
- Watch the percent complete increase as it checks the USB disk image for errors.
Select your preferred language for
-
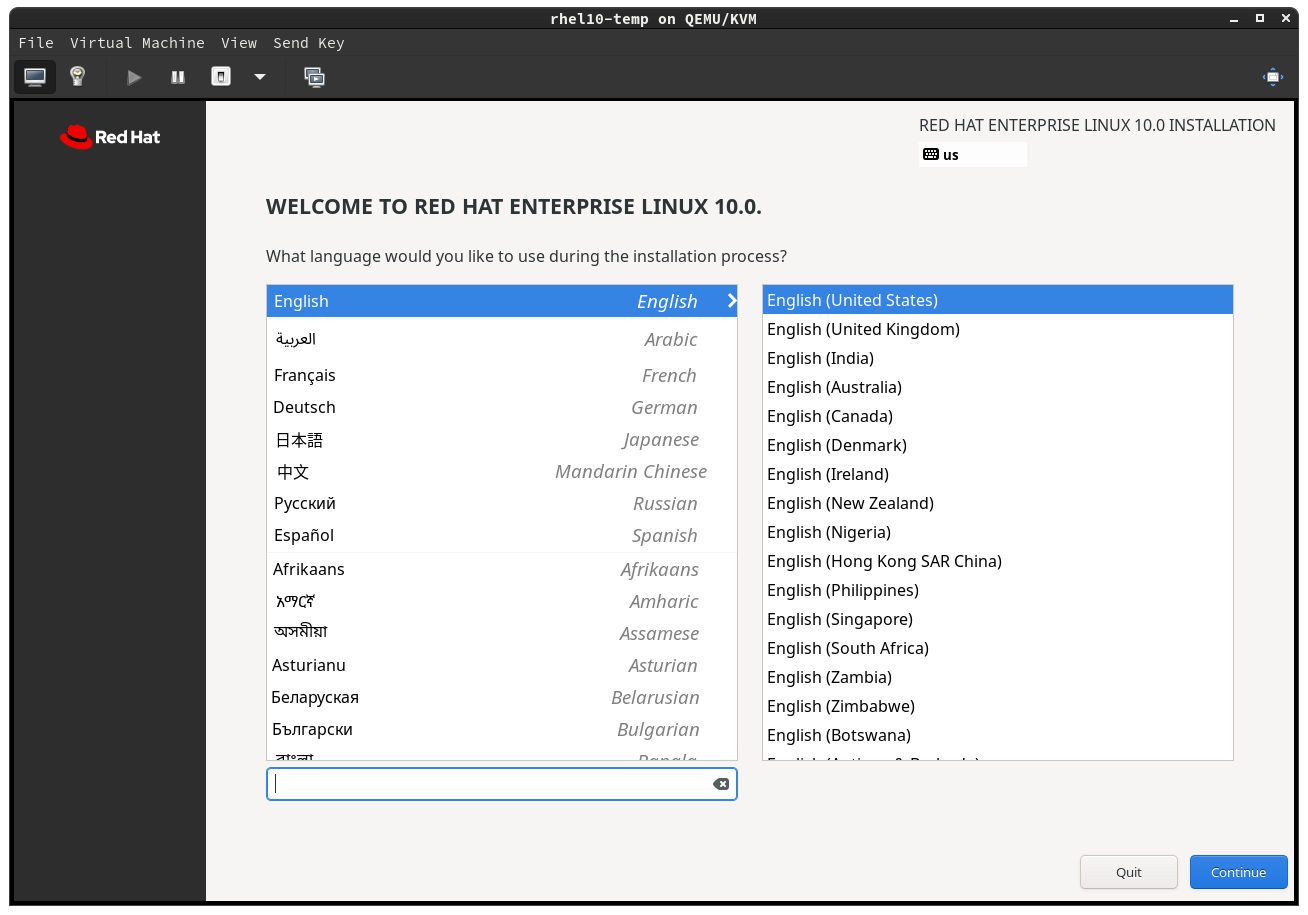
- Select your preferred language for installing .
- Click Continue.
-
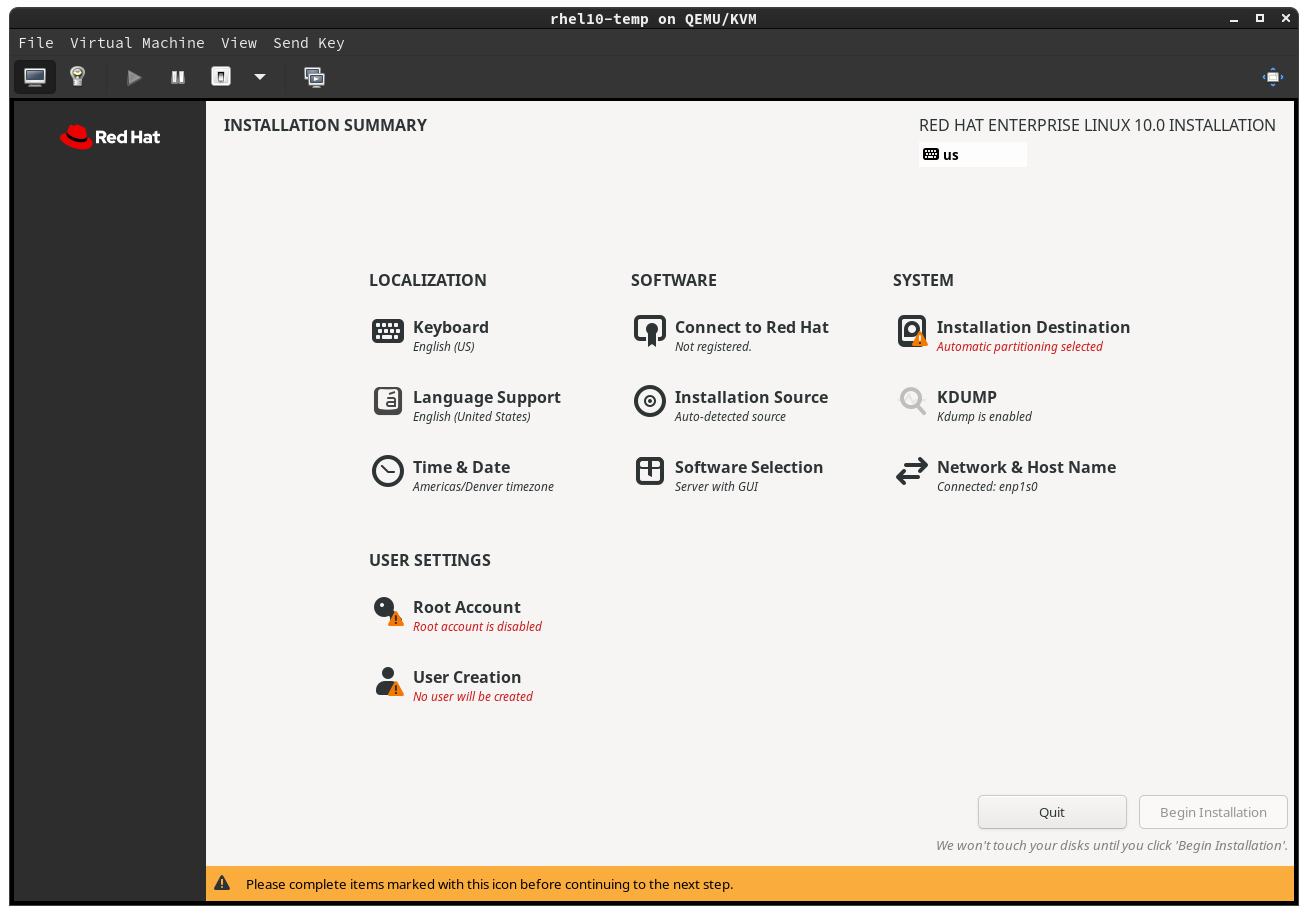
- First step is to verify that the installer has guessed the correct keyboard layout you are using. Look at the top right at the keyboard configuration right under where it says INSTALLATION.
-
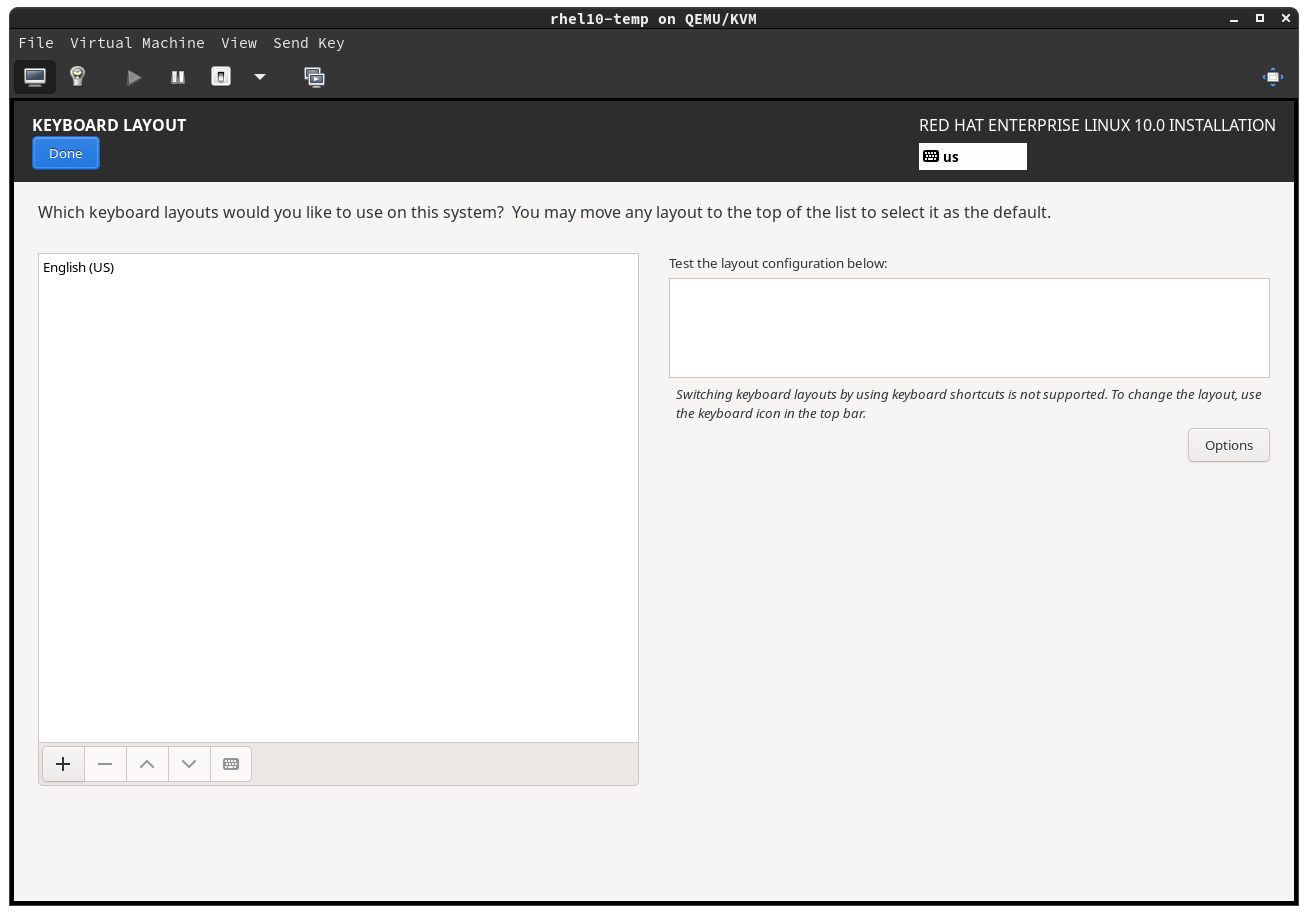
- Click the - button on the left to remove the wrong keyboard and choose a new keyboard.
-
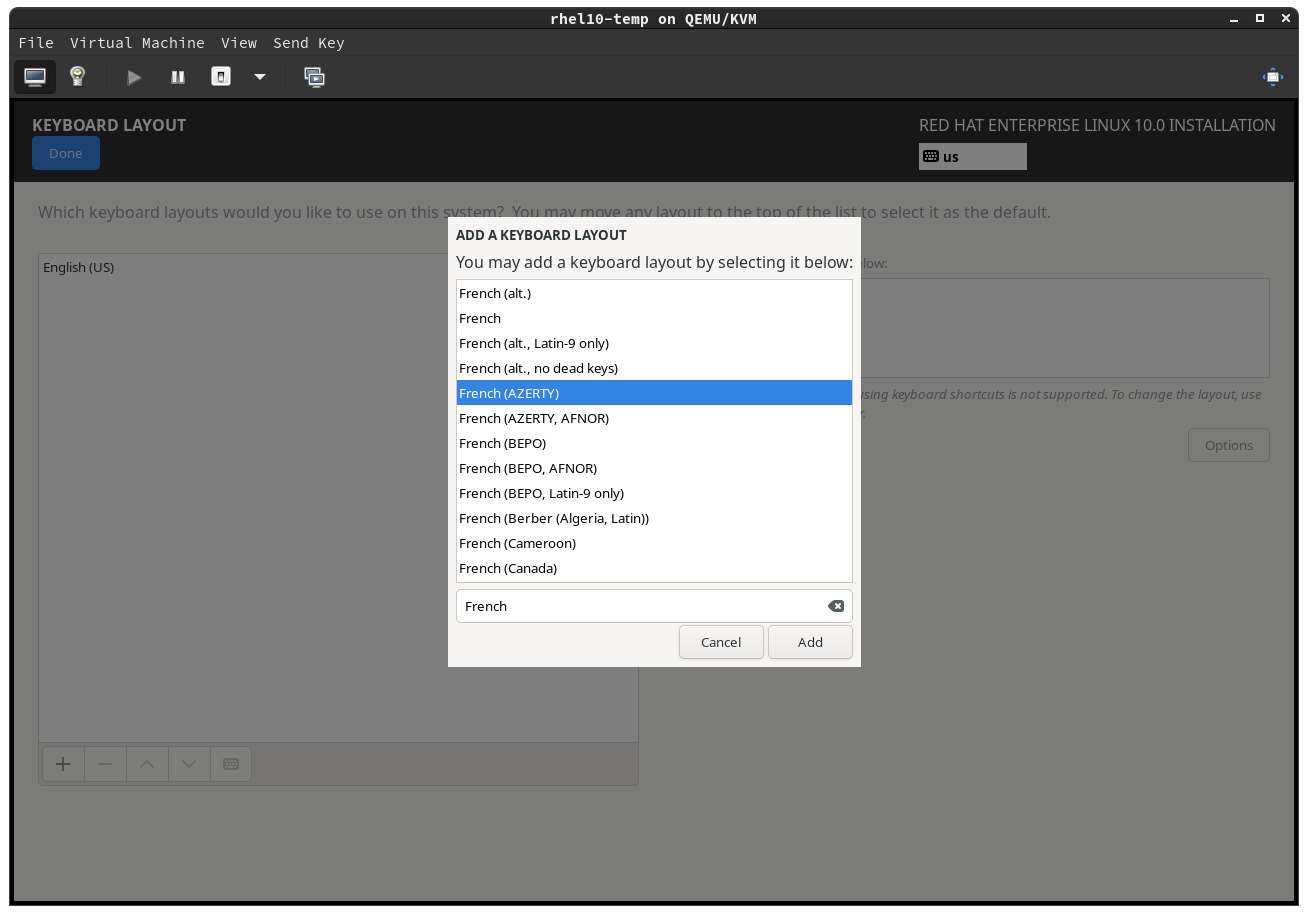
- Find the correct keyboard in the list.
- Click Add.
-
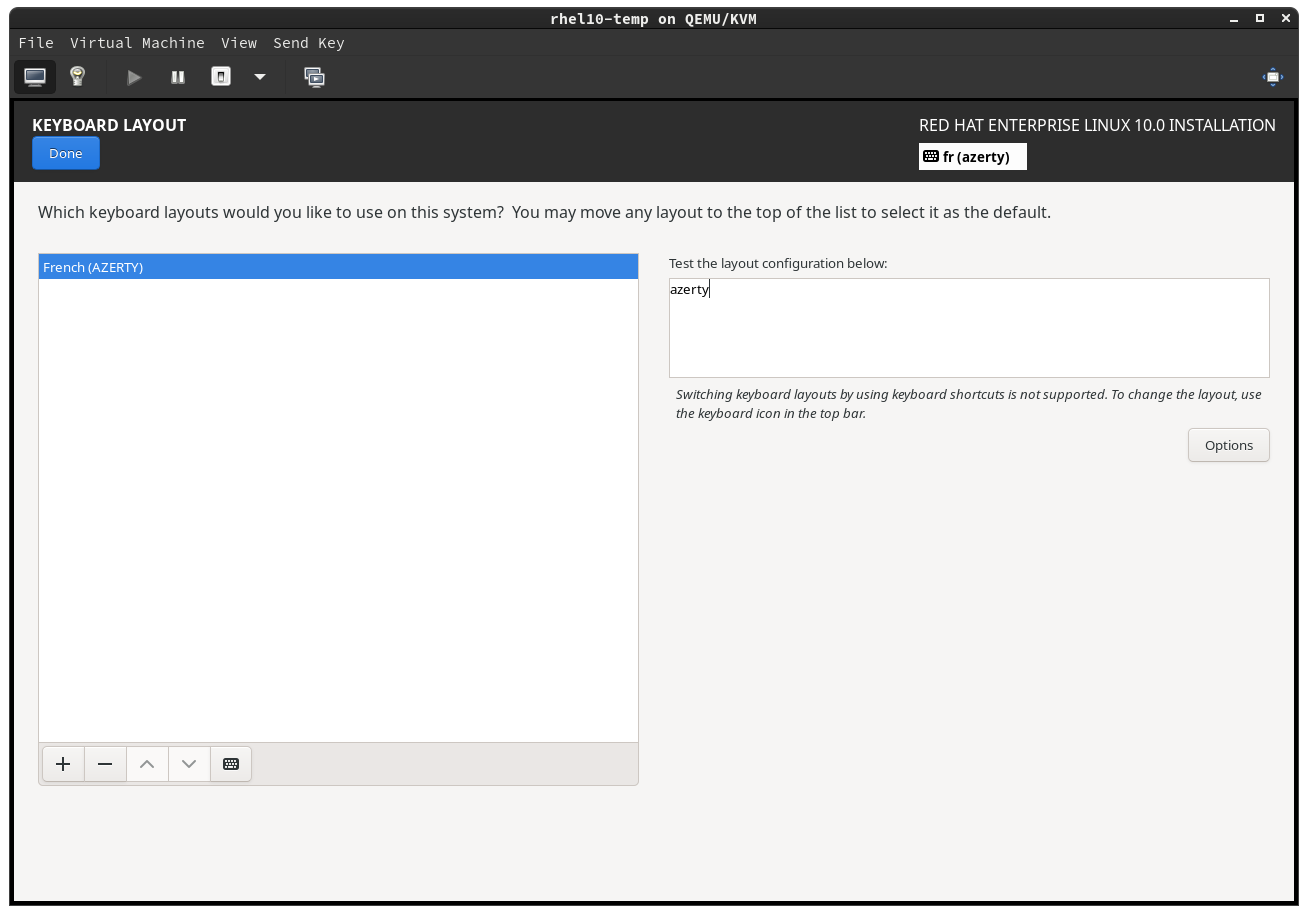
- Use the Test the layout configuration below: section to verify you have the right keyboard selected.
- Click Done on the top left when you are done.
Configure your network and host name
-
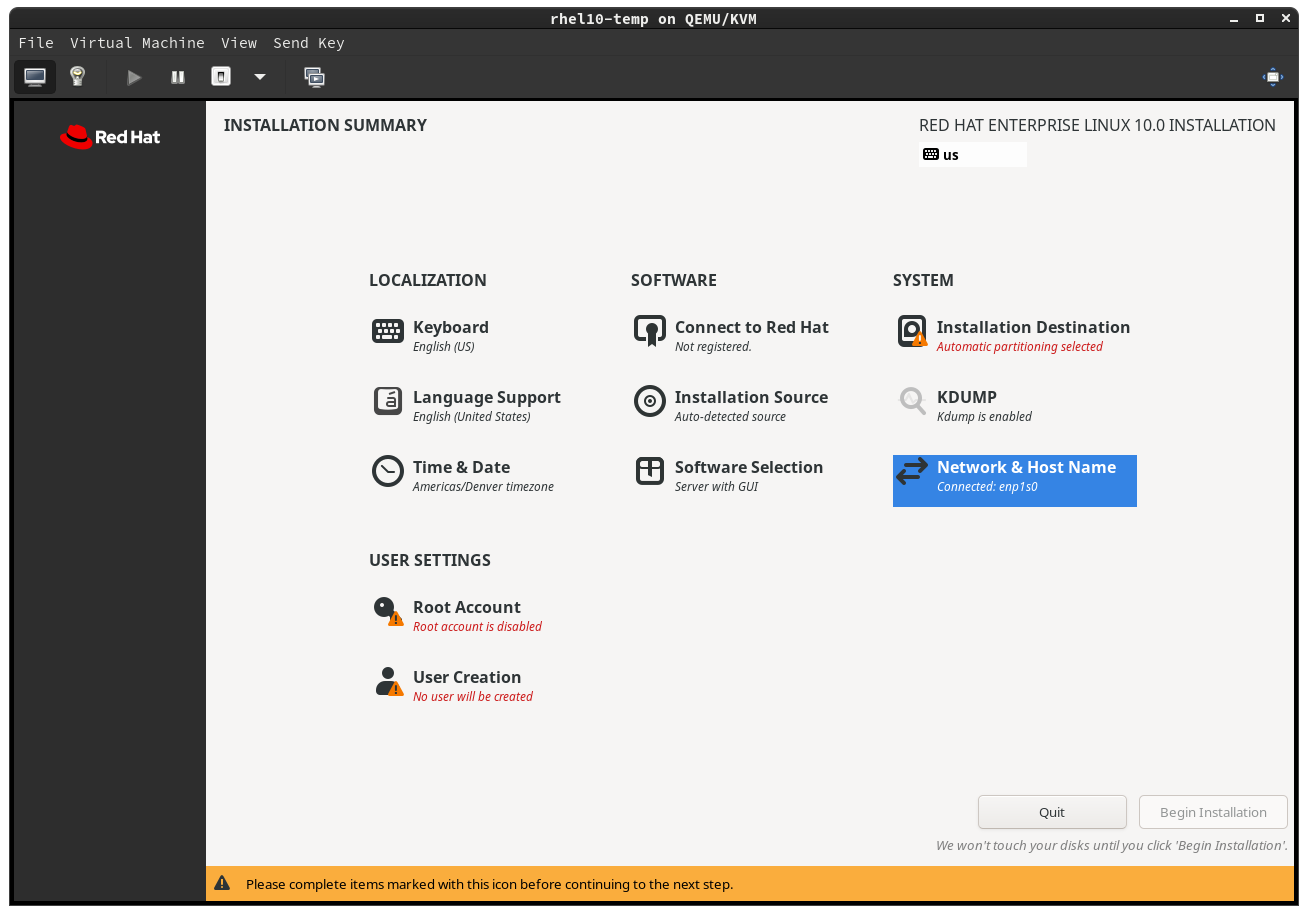
- Click Network & Host Name to set up your network configuration in your home or work.
-
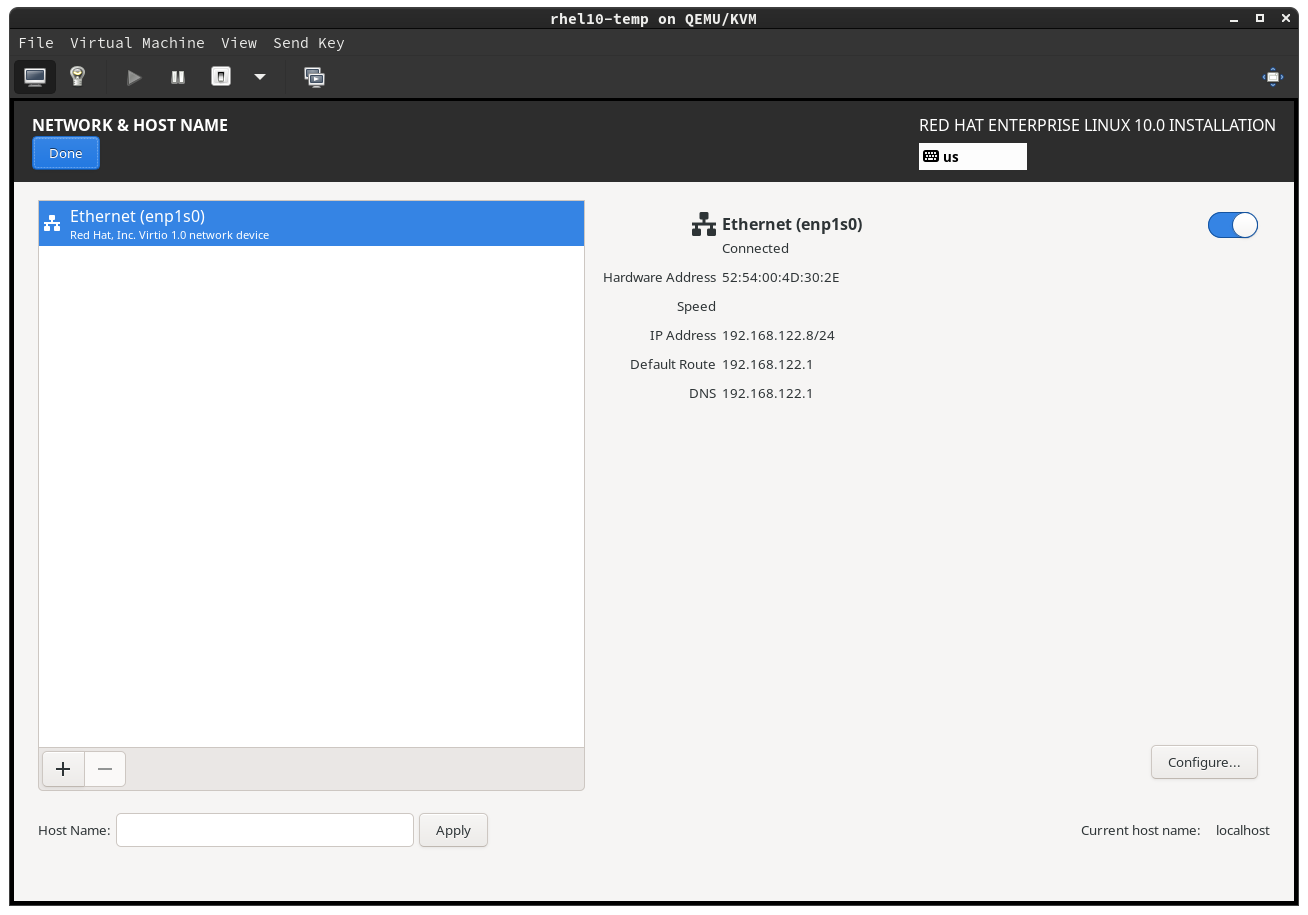
- If you have an Ethernet connection, which is preferred, then you should see an Ethernet network already connected.
- If you are using WiFi, then you will need to select your WiFi network and enter your password.
- Entering a host name is optional, but if you prefer your computer to have a certain name, then enter it in the Host Name: input and click Apply.
- Click Done when finished.
Choose your installation destination disk.
-
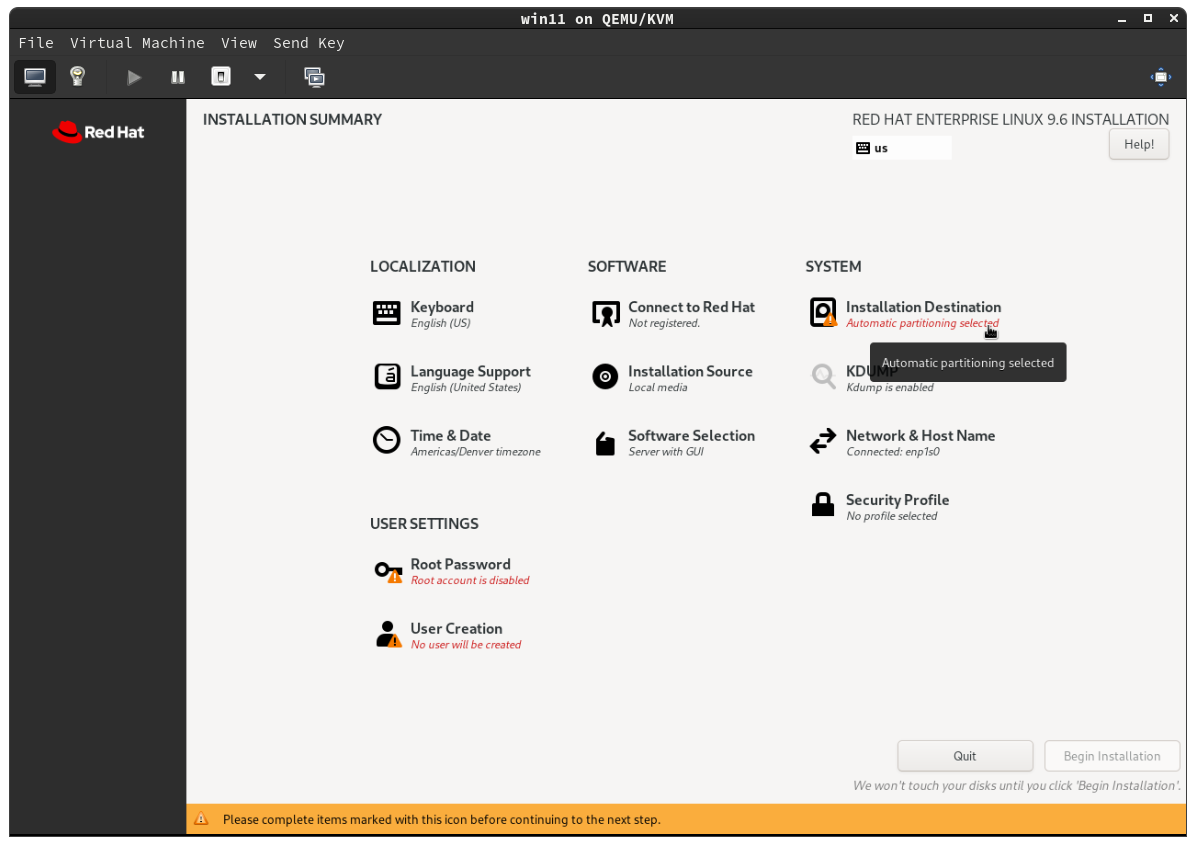
- Click Installation Destination to configure your disk for .
-
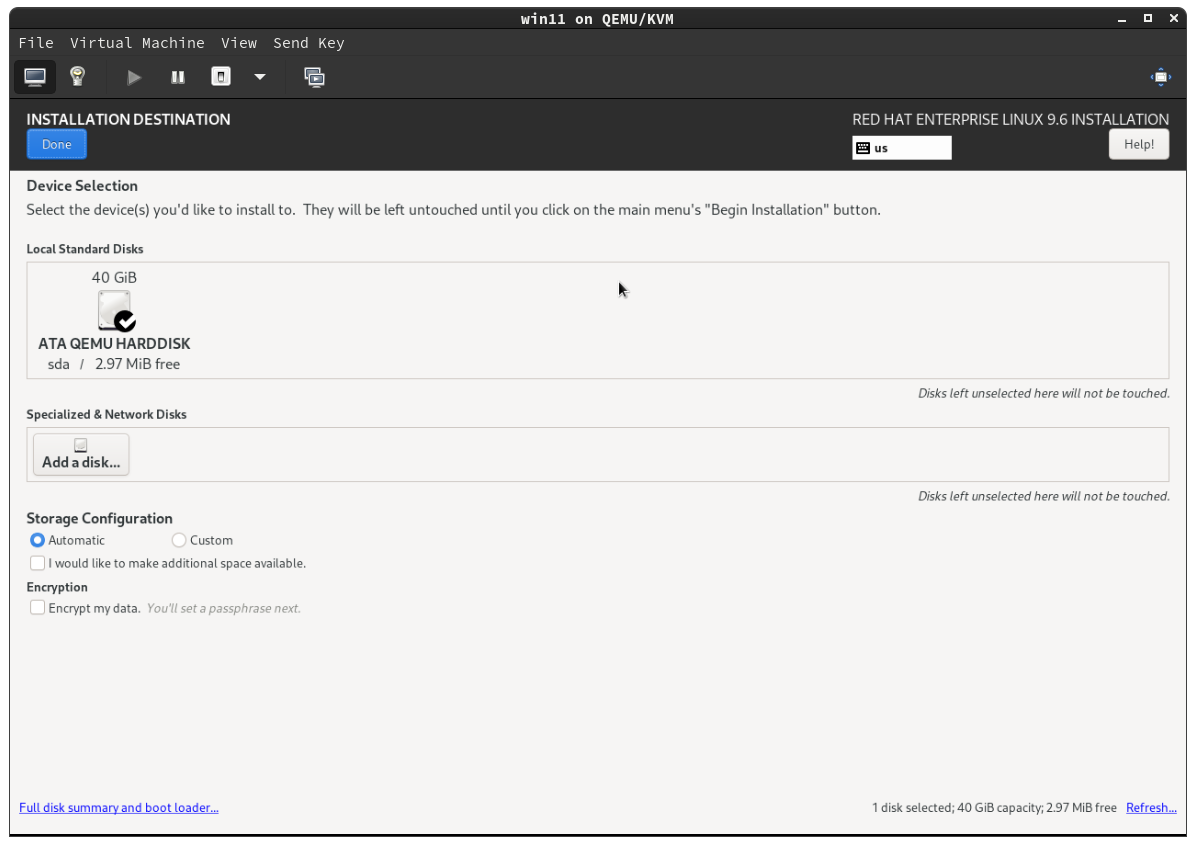
- The INSTALLATION DESTINATION screen will show you the hard disks available on your computer.
- Make sure the disk where you wish to install has a black circle and white check mark on it. If not, click on it until it does.
- Change the Storage Configuration from Automatic to Custom, because does not do a good job with automatic disk partitioning.
- Click Done to configure your disk partitioning.
-
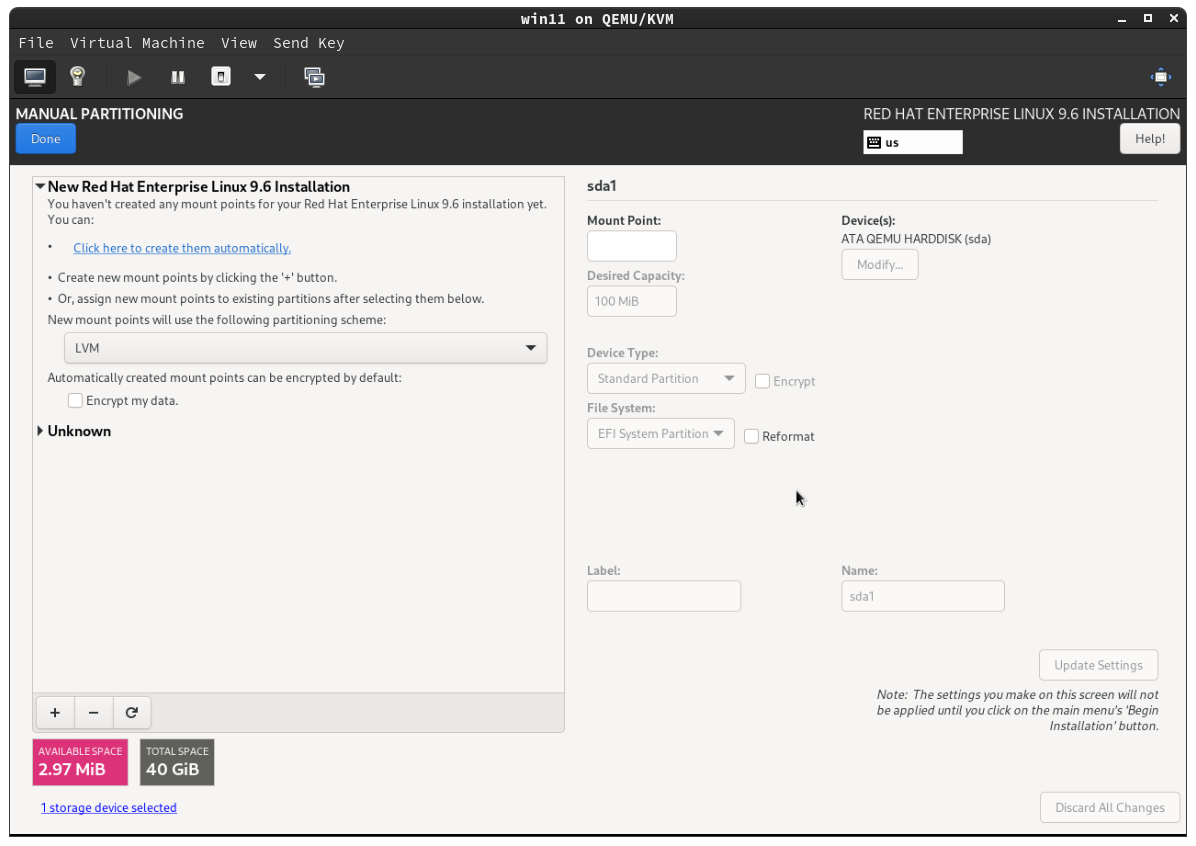
- Before you configure your disk partitioning, you need to delete existing disks that already have an operating system or other data on them.
- Open the Unknown section on the left if it is shown.
-
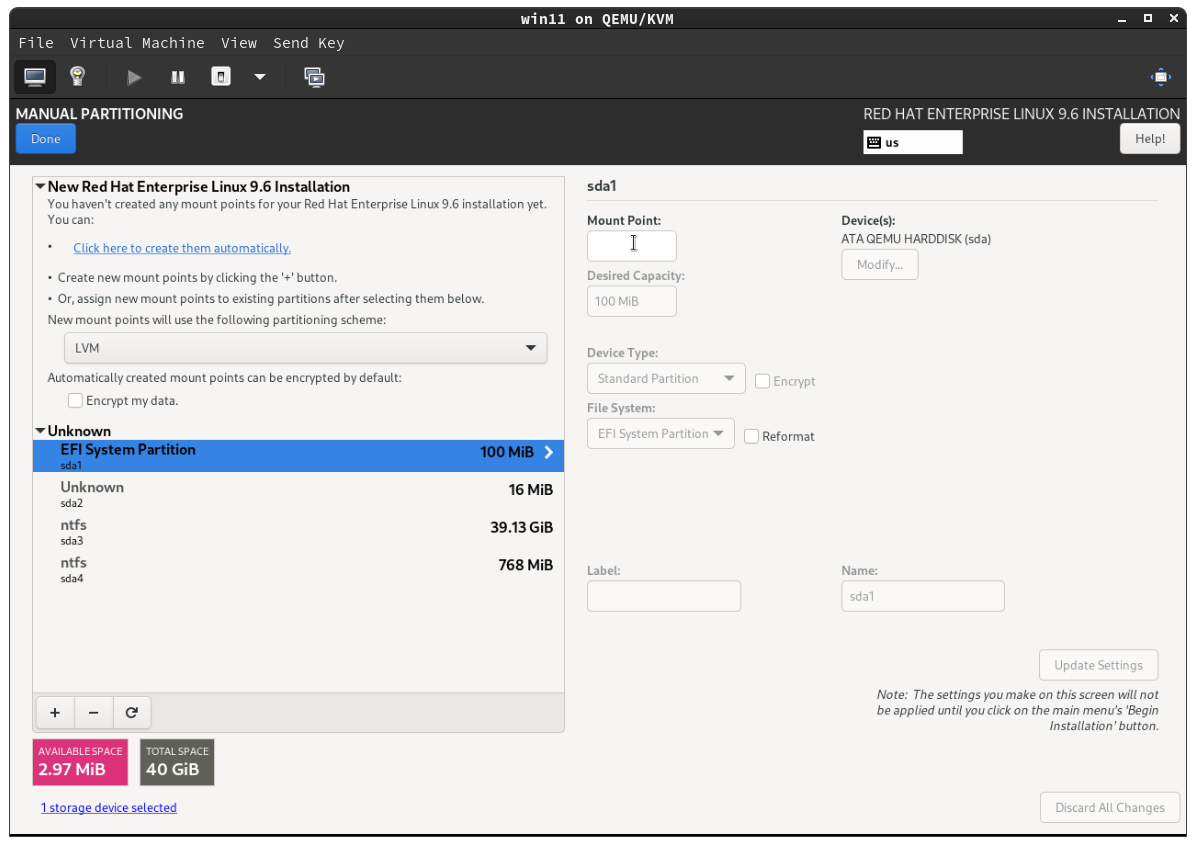
- Select one of the unknown partitions that is the old operating system like EFI System Partition in the screenshot.
- Click the - button to remove the partition.
-
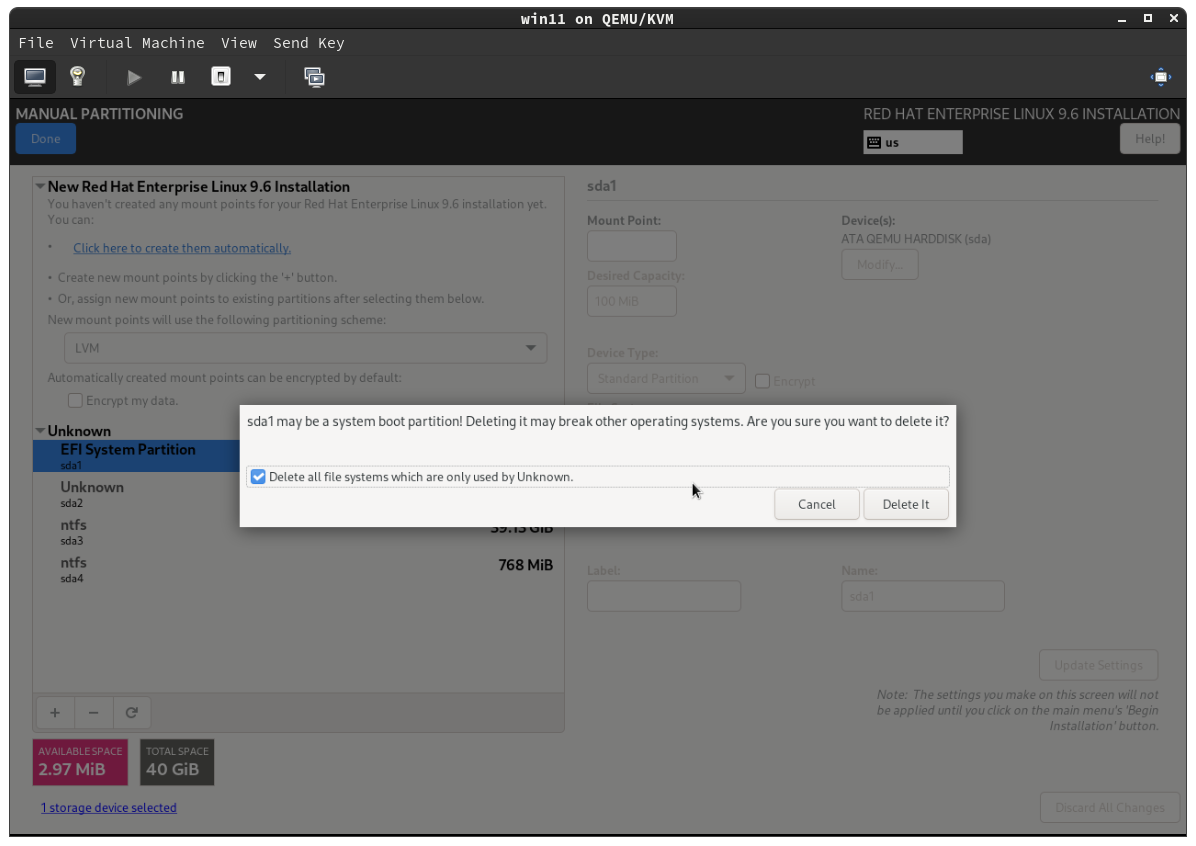
- A dialog will pop up asking you to confirm deleting the system boot partition.
- Check the box for Delete all file systems are only used by Unknown.
- Click Delete It to confirm.
- Delete all other unknown disks, unless you know that they are the USB disk of the installer, you don't have to delete that one.
-
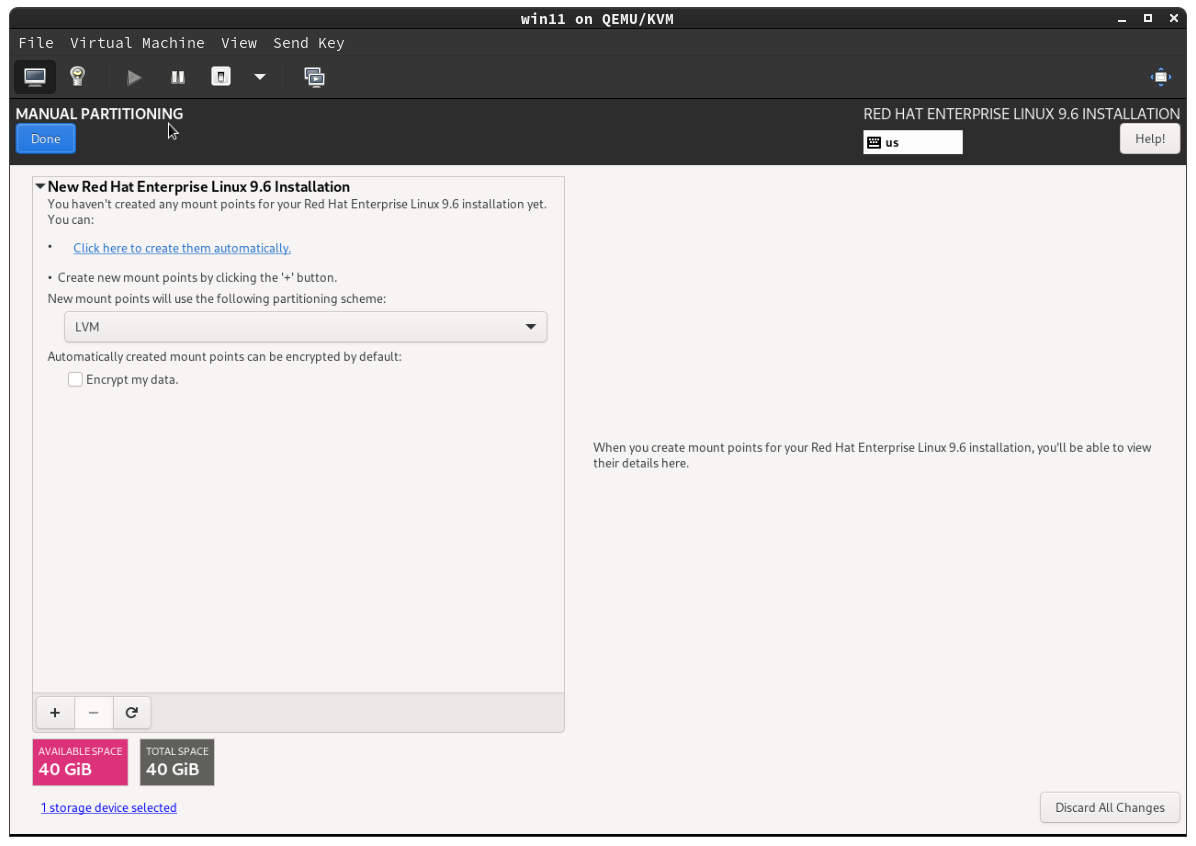
- If you would like to encrypt your disk with a password as soon as you boot to protect your files from theft, select Encrypt my data, otherwise leave it unchecked.
- Use LVM partitioning scheme so that you can have flexibility add new disks to your computer later.
- Click the link that says, Click here to create them automatically.
- Click Delete It to confirm.
- Delete all other unknown disks, unless you know that they are the USB disk of the installer, you don't have to delete that one.
Select your preferred language for
Select your preferred language for
Don't forget to share this page!
LinkedIn
Facebook
Related Articles

How to become a Red Hat developer